The Aptean Ship Connector is a component of Aptean Ship that controls the printing agent necessary for generating labels and shipping docs. It can also be used to connect to electronic scales.
Follow the instructions on this page to download and install the Aptean Ship Connector.
Download
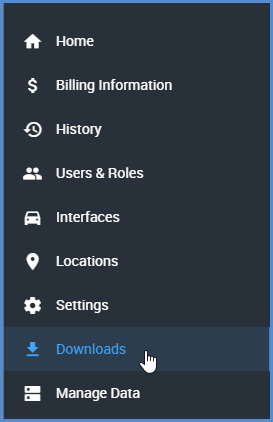
The Aptean Ship Connector can be downloaded from the Subscription Management System Downloads page. Log in and on the side menu, click Downloads.
You can also download the Connector from Aptean Ship, from Setup > Printing & Scale.

Where to Install the Connector
Your printer configuration and scale locations can define where you want to install the Aptean Ship Connector.
Printer configuration
Isolated Printers (most common): Install the Connector on each machine if the printers are isolated and not shared from a central server.
Shared Printers: To centralize the Connector and minimize the number of Connectors you have to maintain, you can install the Connector on one machine to act as a print server. This works if the printers are shared and the Connector Service login user has access rights to see and print to all printers.
Scales
If using scales, a Connector must be installed on each machine with scales attached.
Installation
The next step is to run the .EXE file that you downloaded to install the Connector.
- Navigate to the ZIP file and select to extract the files.
- Select a file location for the extracted installation files.
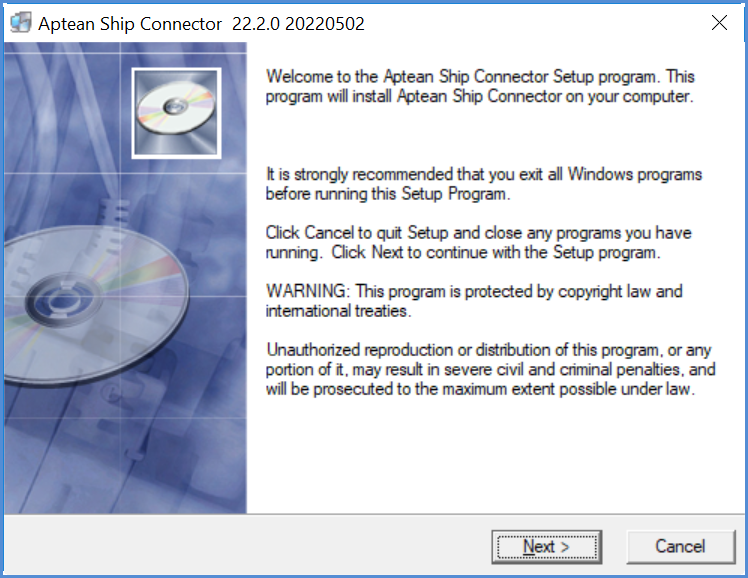
- Double-click the EXE file. Then, read and agree to the license agreement.
- On the Welcome dialog, click Next.
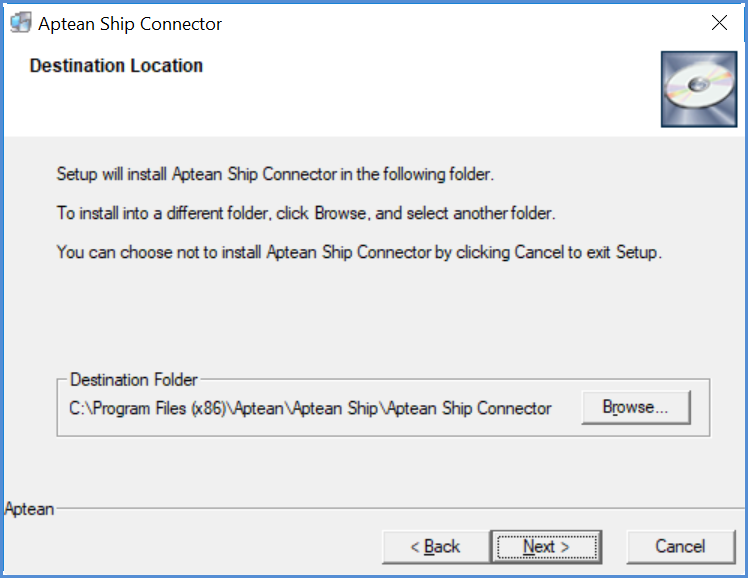
- Select the location where the Connector will be installed. You can either accept the default destination folder or click Browse to choose a different folder.
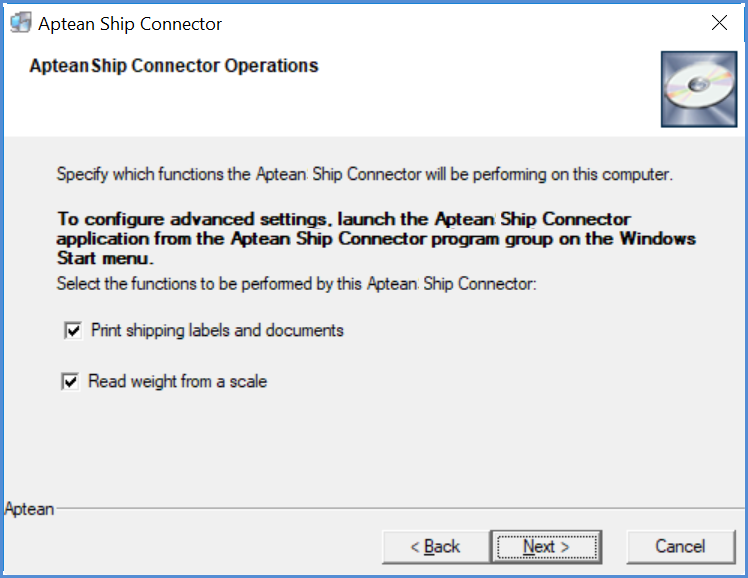
- Place a check mark next to each function the Connector will be performing on this computer.
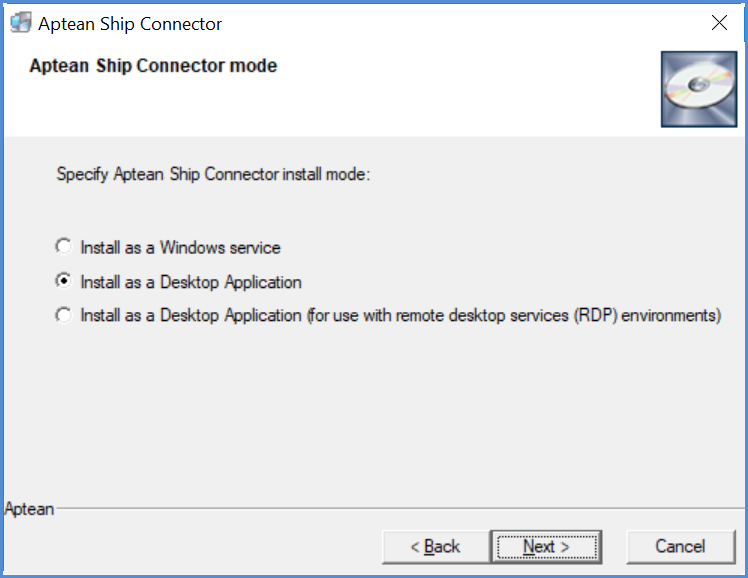
- Select the default mode in which the Connector will run. You can run the Connector as a Windows service or as a desktop application. Aptean Ship will actually install the files necessary to run in both modes, so you can switch to a different mode later if you wish. In this dialog, you’re selecting the default mode for the Connector.
You should only select the third option when the Connector is being installed in terminal server/Remote Desktop environments.
For more information about when to choose Windows service vs. desktop application, see the Aptean Ship Connector topic.
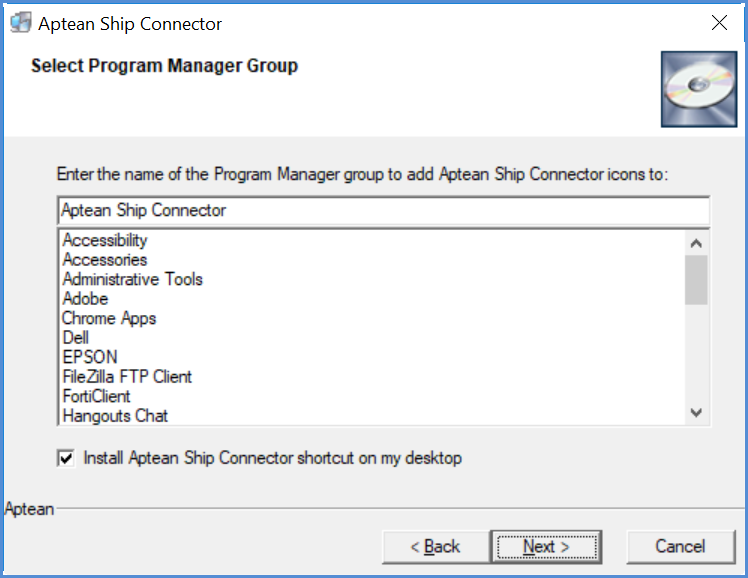
- Select the Program Manager Group. You can accept the default name or create one.
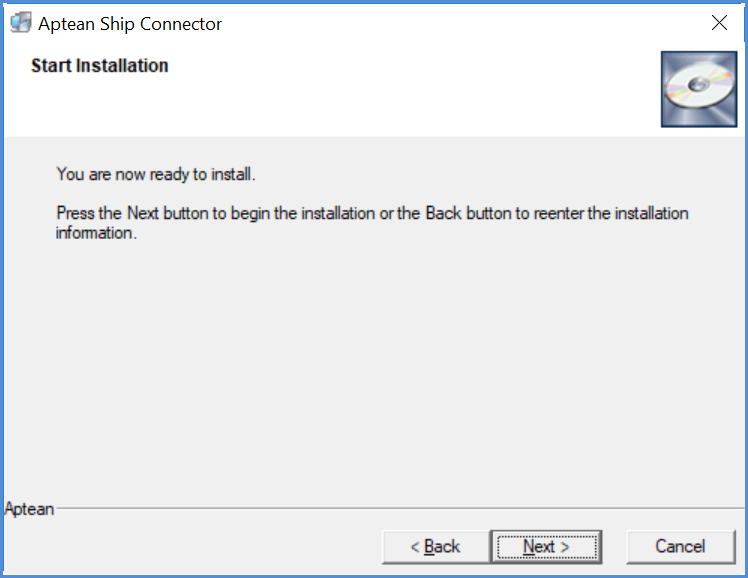
- Click Next to begin the installation.
- When the installation is complete, click Finish.
Troubleshooting
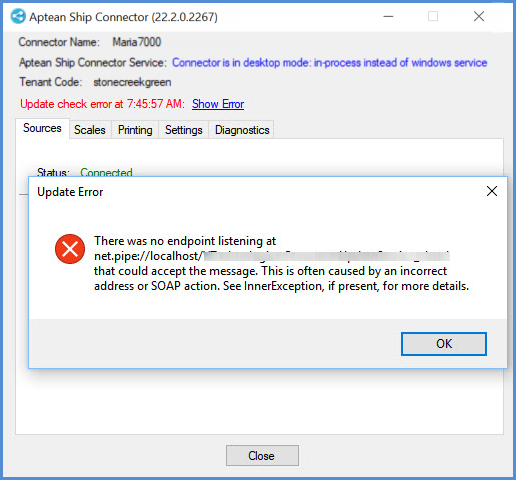
If you receive the following error message after installing the Aptean Ship Connector, we recommend that you try waiting a few minutes and then restart the Aptean Ship Connector Update Service. You can do this by stopping and restarting the service in the Services tab of the Windows Task Manager.