This setup allows you to configure the sending domain and set up email processing options. If using your own domain to send emails, you will need to modify the DNS settings for your domain.
Enable eNotify
In order to use eNotify, you must check the “Enable eNotify” check box on this page.
Domain Configuration
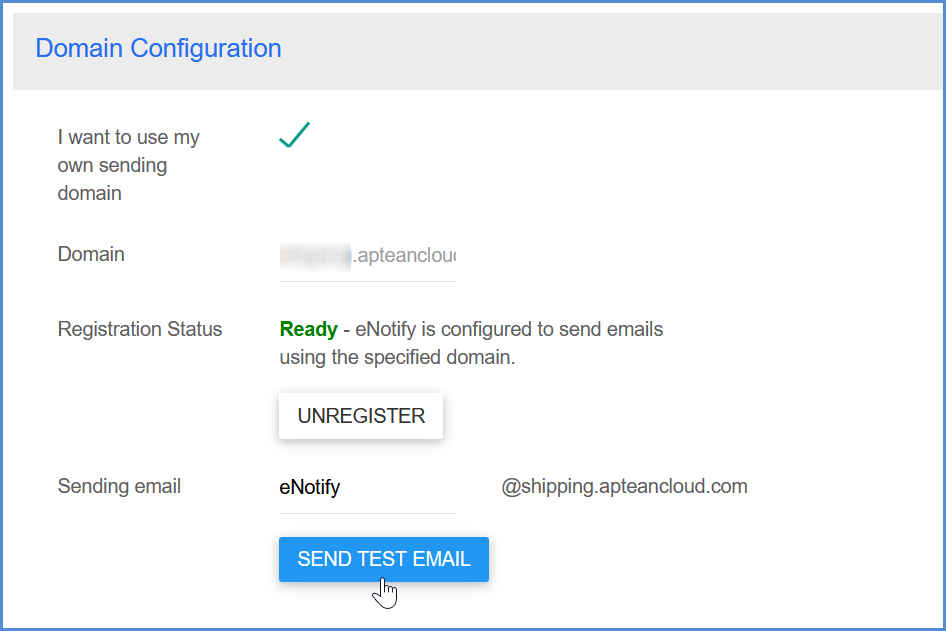
To use your own domain for sending eNotify emails, check the “I want to use my own sending domain” check box.
Enter the domain name and click Register.
For the next section, you’ll want to work with your network administrator to update the associated DNS settings as displayed on the setup page. Make sure you enter the DNS Records in your DNS settings properly.

Generally, it will take a few hours until the records go live, but it could take up to 24 hours for the changes to propagate. Once the records are live, click the Verify Domain button. The Registration Status will change to Verified/Pending.
Once the Registration Status has changed to “Ready”, enter the sending email address that will be used to send eNotify emails. It may take some time until the Registration Status is Ready, and during the interim, the sending email will default to “[email protected]” so that StarShip can continue to send eNotify emails.
Click the Send Test Email button to test that the sending email is working correctly. Enter an email address where the test email should be sent.
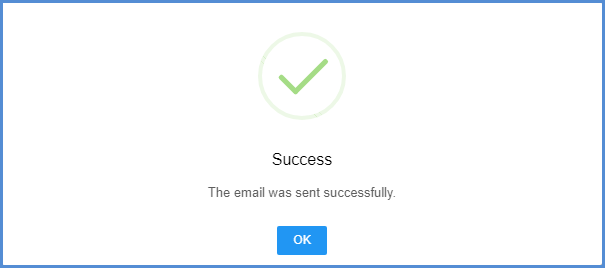
If the email is successfully sent, you will see a confirmation.
Processing
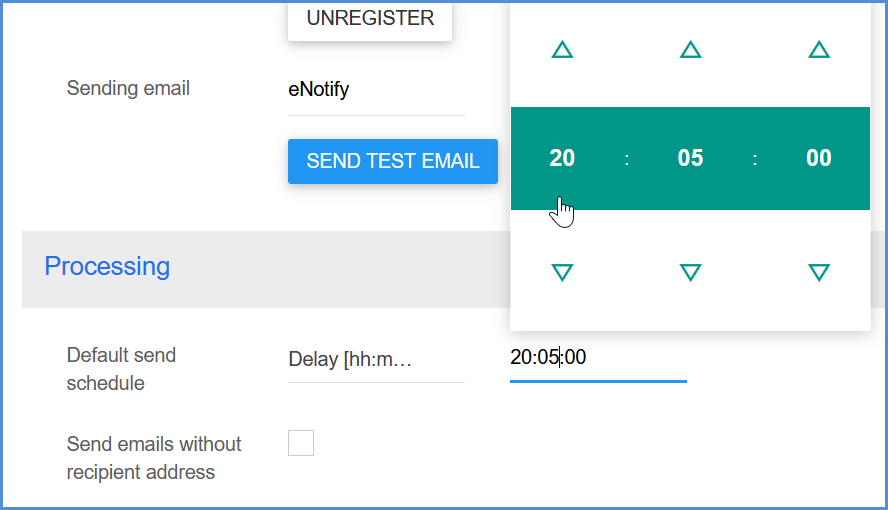
Default Send Schedule
Specify the default send schedule, which determines when notification emails are sent. Send schedules can be set application wide as the default, or on an individual template basis in the Template Properties.
- Immediately: The email is sent as soon as the shipment is processed, updated, or voided.
- Delay: The email is delayed for a set period of time. Set the delay by configuring the 00:00 field.
- Time of Day: All emails are sent in a batch at the time of day specified here. The time is based on the email server’s time.
- Manual: Emails are sent when the user chooses to send them from the eNotify Emails section of the Dashboard.
Send emails without recipient address
When this setting is checked, any emails that are missing a recipient will be saved under the Failed folder in the eNotify Emails section of the Dashboard. The Failed Reason column will indicate that a recipient must be specified. You can then correct and forward the emails from the Email Viewer itself.