UPS Freight no longer supports the TForce Freight interface. You must create a TForce Freight account before you can set one up. Follow the steps to sign up for a new account in TForce Freight Prerequisite.
Configure the TForce Freight Account on Cloud
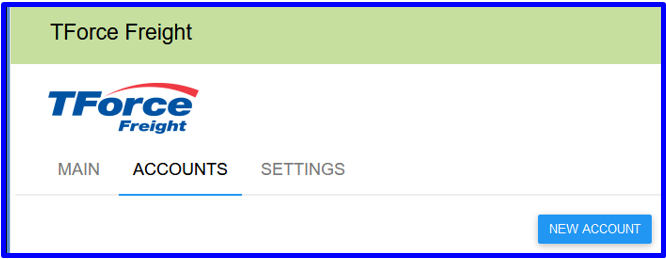
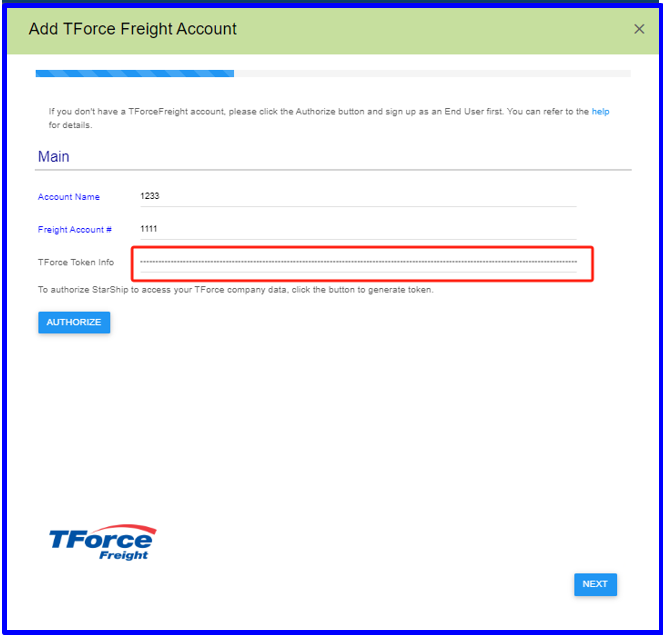
- In Aptean Ship, select Setup > Carrier Interfaces > TForce Freight.
- Select the Accounts heading and click the New Account button.
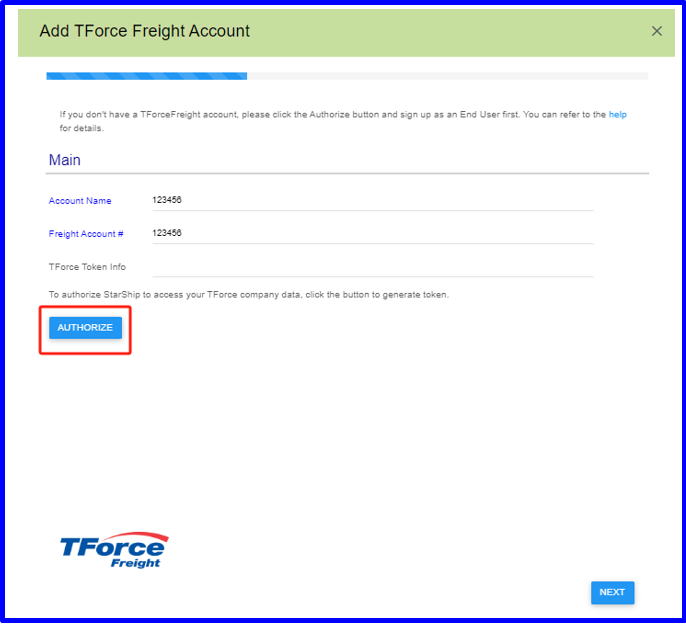
- Enter the Account Name that will identify this account in Aptean Ship. Enter the Freight Account #, no validation for Freight Account #, you can enter your previous Freight Account #.
- To authorize Aptean Ship to access your TForce company data, follow the steps to generate the token.
- Click the AUTHORIZE button. It will direct you to the TForce Freight portal.
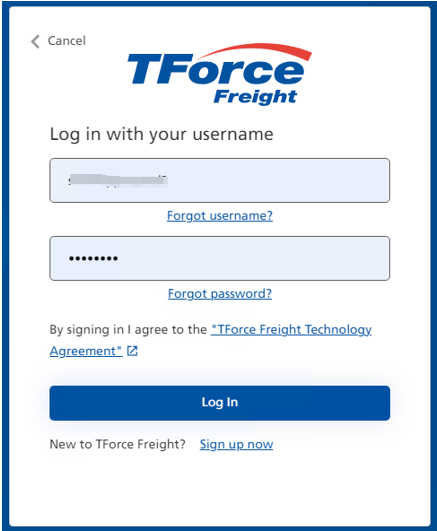
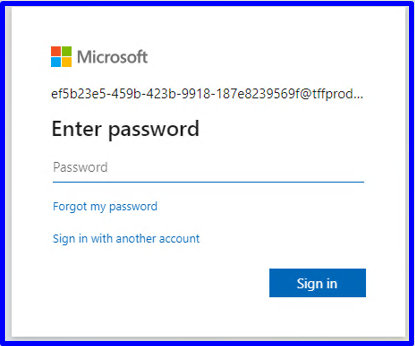
- Enter the username and password, click Log In button.
- Click the Get Started button.
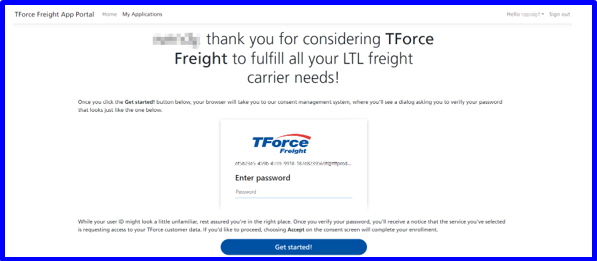
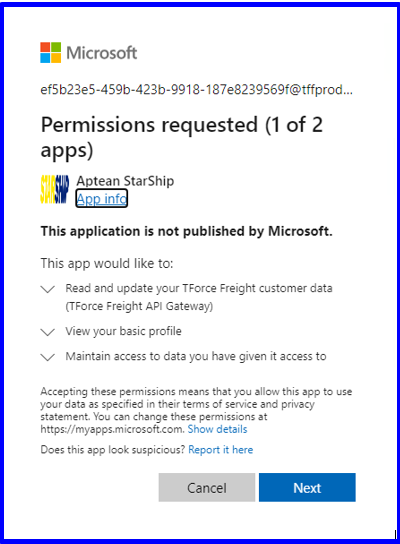
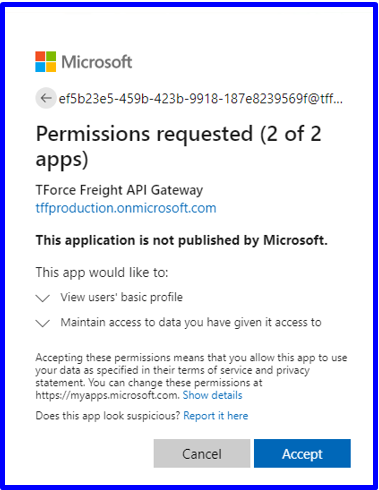
- Enter your password again.
- Click the Next and Accept button to authorize Aptean Ship to access your account token.
- You should be able to see the following page.
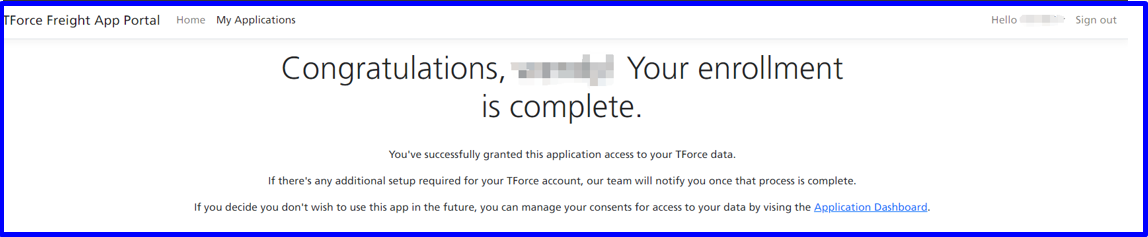
- Go back to Aptean Ship. The TForce Token Info should be automatically populated. If not, please try to authorize it again.
- Click the AUTHORIZE button. It will direct you to the TForce Freight portal.
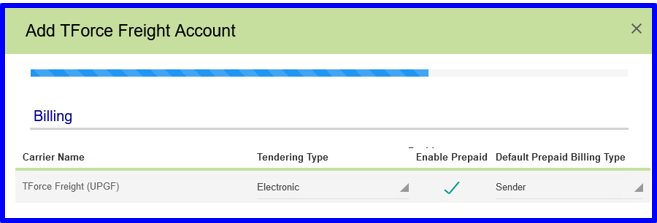
- Configure Billing settings.
- Tendering Type: The choices are Call, Electronic, or Daily Pickup. Aptean Ship will only send a pickup request to TForce Freight when Electronic is selected. You must contact the carrier directly for the Call or Daily Pickup options.
- Enable Prepaid: Check to enable a default Prepaid Billing Type.
- Default Prepaid Billing Type: This is the default Billing Type for shipments that are paid for by the shipper. You can select from Sender or any other 3PL that you set up in Maintain > 3PL. These settings affect the options available for Billing in the Transportation section of the Shipment Editor.
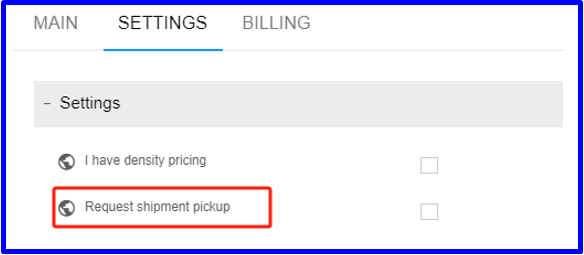
- Check the I have density pricing option if you already have density-based pricing set up with TForce Freight.
- Check the option if you want Aptean Ship to automatically send a pickup request to TForce Freight Request shipment pickup when a shipment is processed. This will only occur if you selected a Tendering Type of Electronic in Billing settings.
- Click Finish. On the Accounts page, click Save.